How to set up Postback tracking in Landing Track
Step One: Grab your offer link from YTZ
Login to your YTZ account and grab a campaign link to get started! If you need any assistance or have any questions about the campaigns, please reach out to your account manager.
- In the YTZ dashboard, go to the Campaigns section on the left-hand side.
- You can filter the campaign section by name, country, geo etc. to narrow down your selection
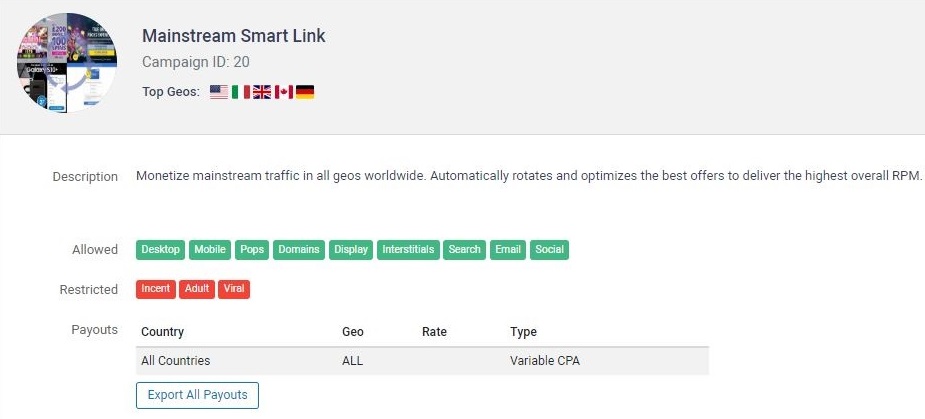
- When you have chosen an offer, click on View Details to see a preview, payouts and an offer description.
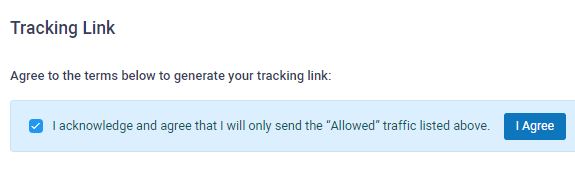
- Scroll down to the Tracking Link section and agree to the terms to generate your unique tracking link.
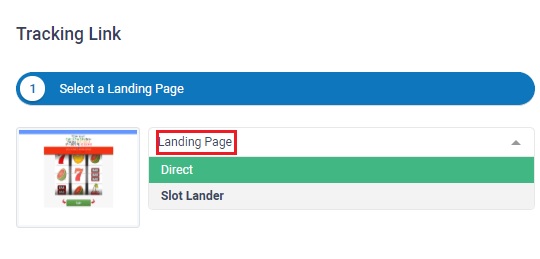
- In the same section, you can Select a Landing Page that you want to use. If you don’t want to use a pre-lander, select the Direct option for a direct link to the offer page.
- If there is only a Direct option, that campaign does not have a pre-lander available
- The next step is to configure the tracking parameters. Start by adding LandingTrack’s {{CLICKID}} token in the S1 box. It is also recommended that you pass source IDs through the KW field. Add {{KEYWORD}} in the KW box. These will automatically update the URL in the Get Tracking Link section below, where you can easily copy the link.
- You can also use the Select Restrictions section if your traffic source restricts certain offer actions (like alerts). Select your desired option from the drop-down menu. This section is optional and not recommended unless required by your traffic source!
- Copy the URL in the Get tracking link section by right-clicking or by clicking the icon to copy to your clipboard.
- Since we will be setting a global postback for your entire account, you can leave the postback section blank at the bottom for all of your campaigns.
![]()
Step Two: Create an offer & grab your postback from LandingTrack
Login to Landing Track and create an offer:
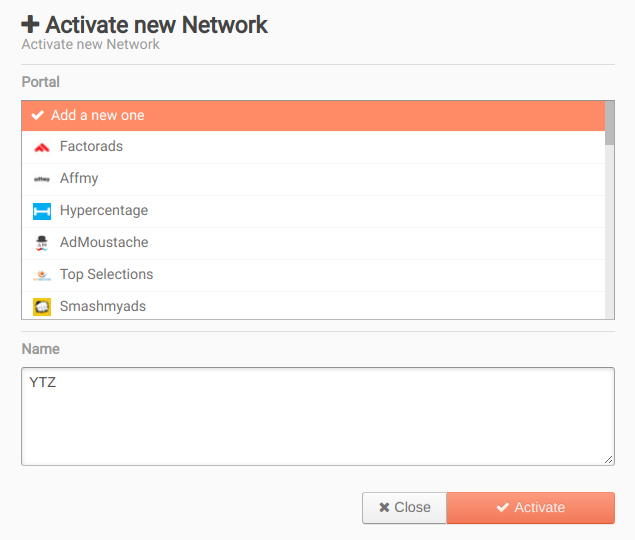
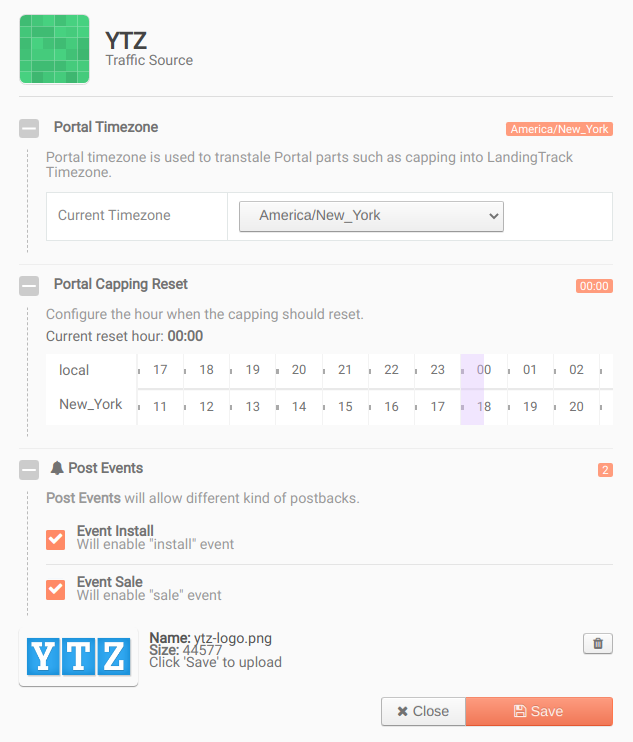
- First you will have to set up YTZ as a Network/Advertiser. Choose the custom option (there is no preset for YTZ), name it YTZ & Activate.
- You can edit the network after it is created in order to adjust the time zone (YTZ is in EST or America/New_York) or cap reset time. Once this is done hit Save.
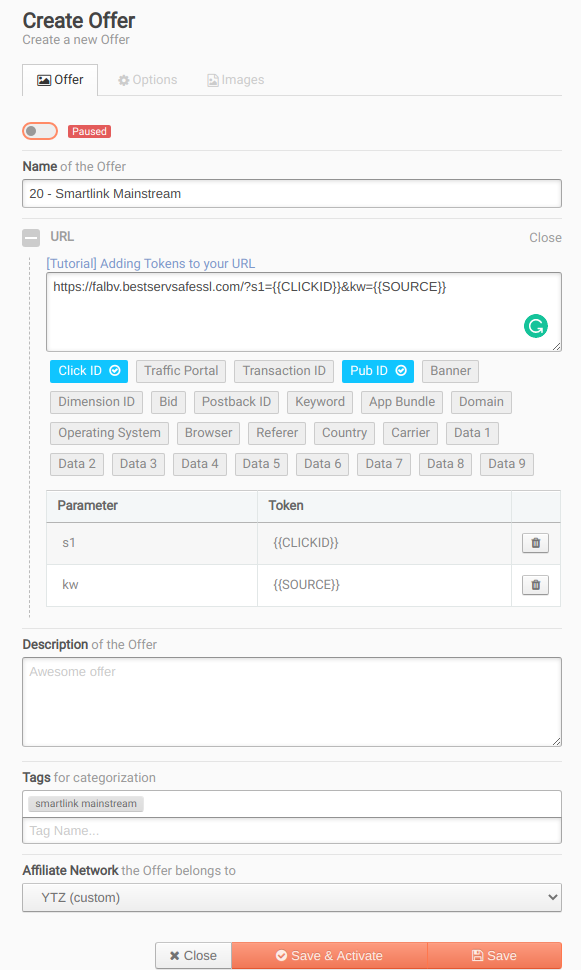
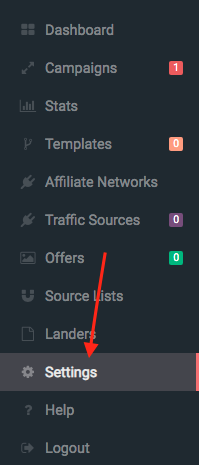
- Next, go to the Offers section to create an offer.
- Name your offer and paste your YTZ tracking link into the URL field. Select YTZ under the Affiliate Network drop down menu.
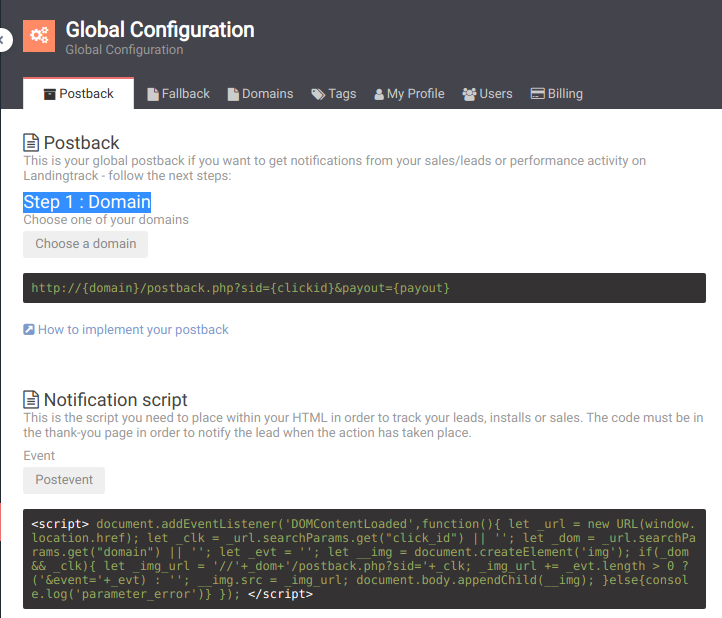
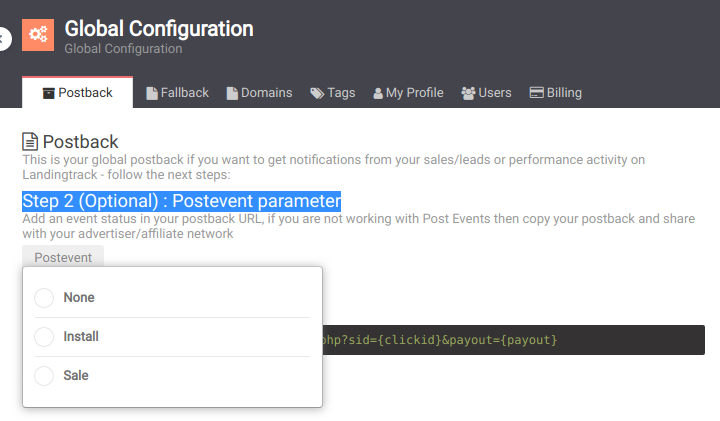
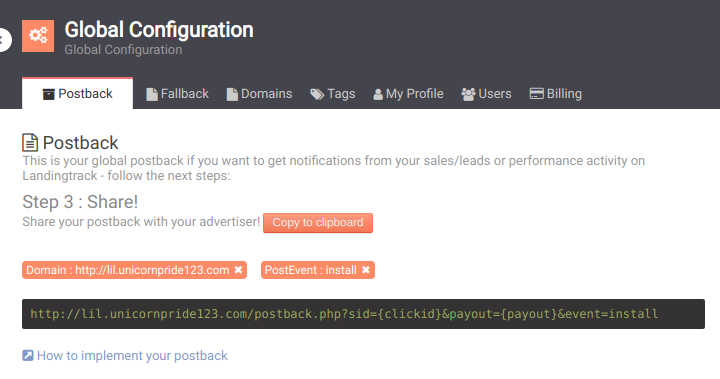
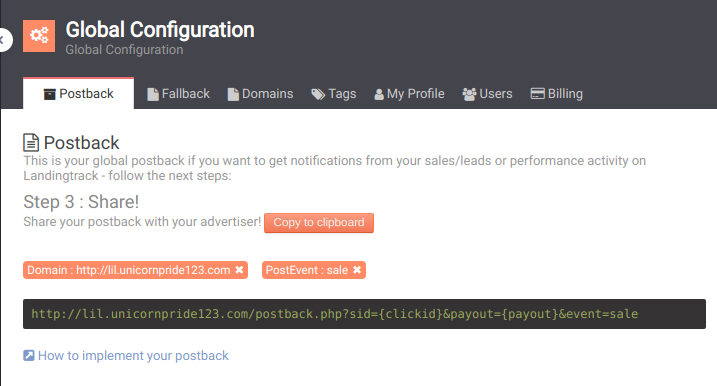
- Next, go to Settings to grab your postback link. You will need to replace {domain} with your unique LandingTrack domain (see the Domains tab in this section).
Step Three: Add your postback to your YTZ account
The next step is adding your LandingTrack postback to YTZ so that you can start sending traffic!
- Login to YTZ and go to the Postback section of the dashboard.
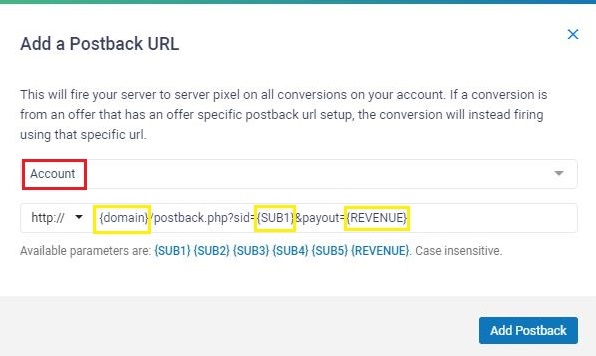
- Click Add Postback.
- Make sure you have Account selected from the top drop down menu (not Campaign).
- Paste your postback URL in the bottom section.
- Replace {clickid} with {SUB1}
- Replace {payout} with {REVENUE}
- Make sure you have replaced {domain} with your actual LandingTrack domain!
- Click Add Postback.
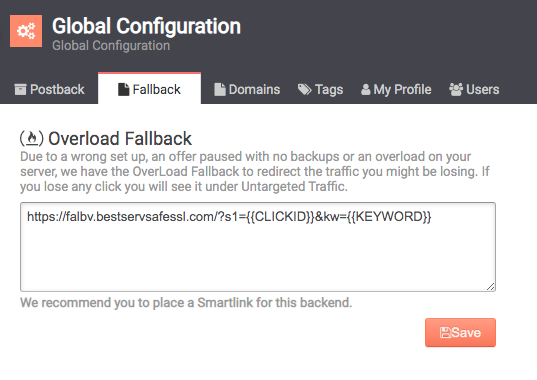
Step Four: Set your YTZ Smart Link as your fallback link
The final step is adding your YTZ smart link as your fallback link in LandingTrack. This will easily monetize ALL of your untargeted traffic!
- In LandingTrack, go to Settings in the navigation bar
- Go to the Fallback section
- Paste your YTZ smart link URL and hit save.
Summary:
Your postback in YTZ should look like this:
yourdomain.com/postback.php?sid={SUB1}&payout={REVENUE}
Then your YTZ offer link should look like this in LandingTrack:
https://ytzlink.com/?s1={{CLICKID}}&kw={{SOURCE}}
That’s it - You are ready to start sending traffic!
If you have any questions or suggestions for improvements for this guide please contact us at affiliates@ytz.com or reach out to your AM directly.